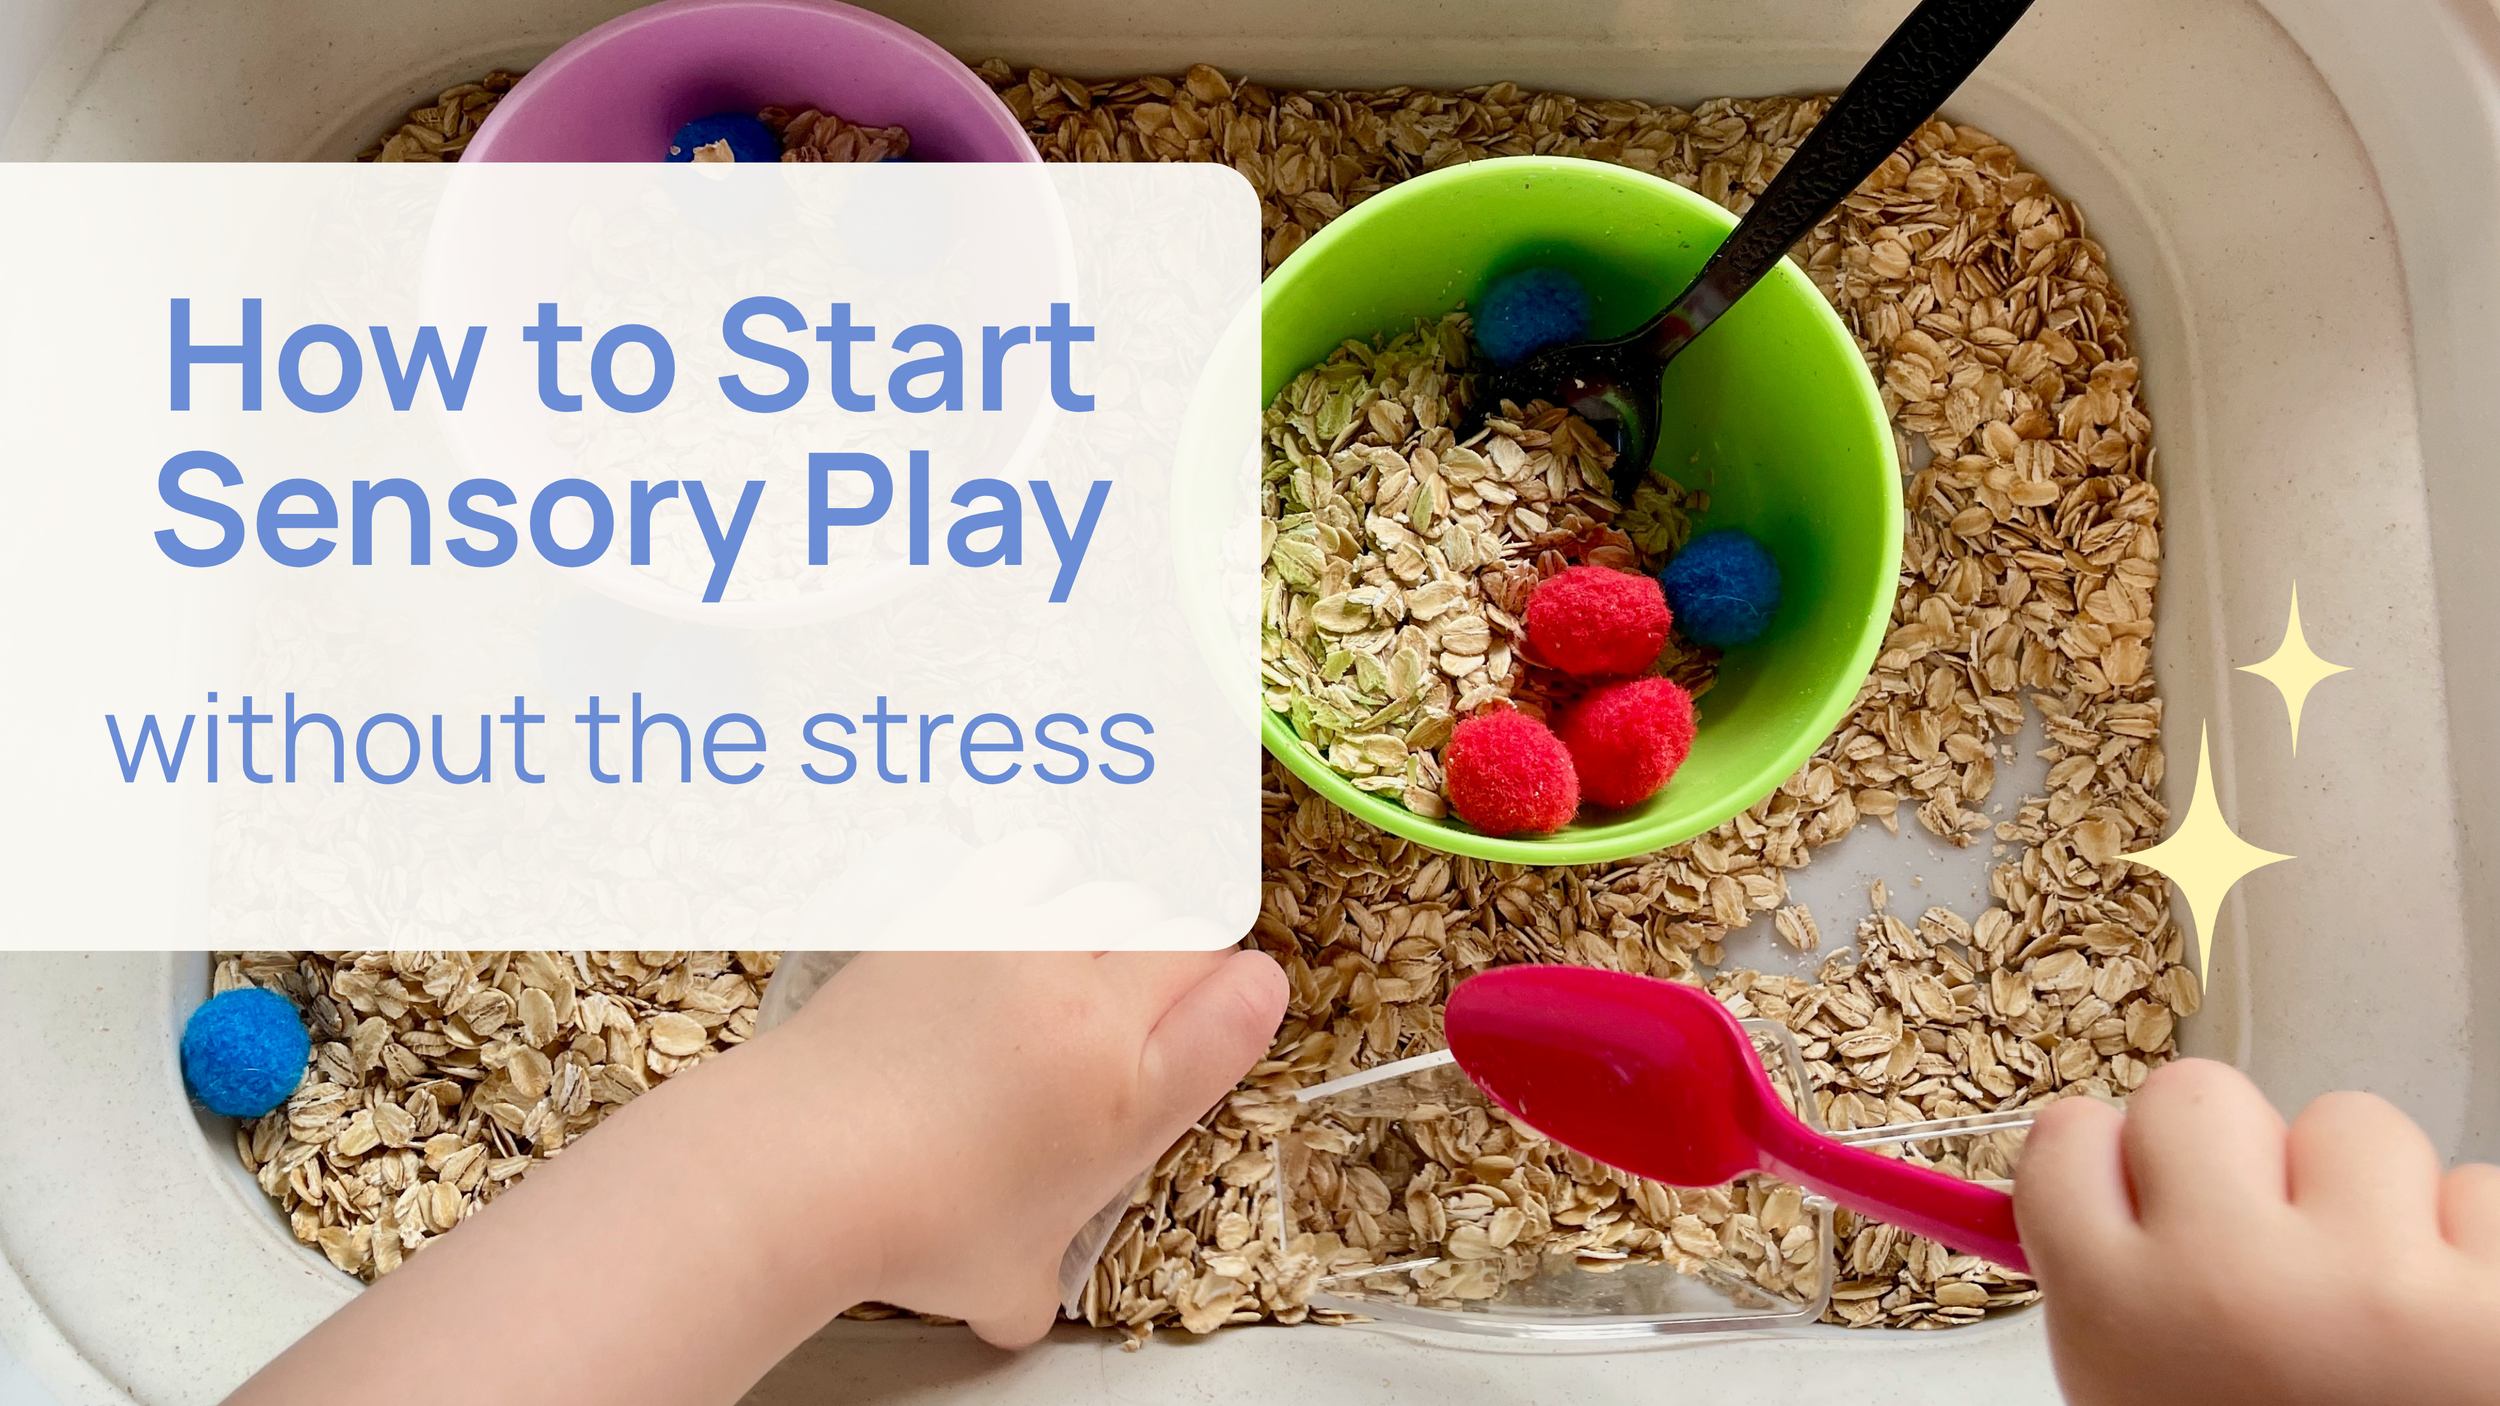
Nervous to Try Sensory Play? How to Start Without the Mess
If you’ve been nervous about starting sensory play with your toddler you’re not alone. By the end of this guide, you'll know exactly how to set up a simple sensory bin, keep the mess manageable, and feel confident trying sensory play at home.
Sensory play can be really overwhelming at first, it’s normal to be hesitant to start. If you've ever looked at a sensory bin on Instagram and immediately thought, "Absolutely not. That would be everywhere." You're not alone.
Maybe your child still puts everything in their mouth.
Maybe you live in an apartment or small space.
Maybe you're worried you'll spend twenty minutes setting it up only for it to last thirty seconds.
Or maybe you've just never done it before and have no idea where to start.
I’m here to put you at ease.
Sensory play doesn’t need to be complicated, expensive, or Pinterest-worthy to be meaningful. One of the biggest misconceptions about sensory play is that it has to look like the beautiful themed bins you see online.
The truth?
Your toddler has absolutely no idea what sensory play looks like on Pinterest.
They don't know about dyed rice.
They don't know about themed bins.
They don't know someone else’s mom spent $40 on tiny construction vehicles.
They're just excited to scoop oats from one cup into another.
Is sensory play important for toddlers?
Sensory play is so important for little ones because stimulating the senses helps build vital nerve connections in the brain. If you love learning about that kind of stuff you can find out more about it here.
Essentially all that squishing of play dough, dumping of water, or transferring of rice is helping your child build language, fine motor, and even cognitive skills. So if you put it into perspective sometimes that alone can help us, as parents, take a deep breath and lean into a little bit of mess.
Sensory play doesn’t have to happen inside a bin in your home. If you have access to bring your little one outside to dig in the dirt, splash in a puddle, or play in the sand that is awesome! Personally, I live in an apartment in NYC and we don’t have great access to outdoor space so we do sensory bins.
Whether you're worried about the mess, don't know what materials to use, or simply need the confidence to try, I'm going to walk you through everything you need to know.
We'll cover mindset, simple rules, supplies, cleanup, and how to make your very first sensory bin a success.
Start With Your Mindset
When it comes to parenting one of the hardest things for me is regulating myself so that I can help my toddler regulate. One way I’ve found that I make sensory play more successful is by taking a second to get my mindset in a good place before we even begin. Here are some sensory play mantras I like to use
The mess is worth it for my toddlers development and enjoyment
The mess never takes as long to clean up as I think it will
Everything here is washable (important part of the materials and clean up sections to come)
Once I set myself at ease I am much less tense during play, which is more enjoyable for everyone.
Sensory Bin Rules
It’s important to start right away with setting expectations for your toddler, no matter how young they are or if you think they can understand. It’s a good habit to get into setting expectations when you begin any activity, especially if it could get messy.
Before you can set the expectations with your child you will need to decide on them for yourself and commit to sticking to them.
Here are the sensory bin rules in our house:
The filler material stays in the bin.
Before we play every single time we say it together for example, “The rice stays in the bin!”
If any filler leaves the bin on purpose we stop.
This one is hard but it is so important to stick to it.
If your child dumps or throws any of the filler on purpose you calmly stop them.
Say “The rice stays in the bin. You threw the rice so we will have to stop now. We can try again later.”
Then take the bin or the child away.
If you want to try again later that day, that is a great way to work on reinforcing the rules.
Make sure to go over the rules again before restarting.Filler doesn’t go in your mouth.
Self-explanatory, but necessary if you have a younger toddler.
We will cover taste safe filler below, but eating the filler should always be discouraged regardless.
Currently we don’t have a rule for helping clean up, personally this makes me more stressed so I just do the cleaning myself. I think this is a great rule though if you and your child are up to it.
No matter what your rules are, just keep them simple and consistent!
You Don’t Need Fancy Supplies
To set up a sensory bin you will need a few things, and you probably already have them.
Choose a bin
We use a sensory table for most of our activities.
Our table has 2 removable bins that fit into it. It works well for us but isn’t necessary if you don’t have one.
Before we got this table I would sit a bin on the floor, and sometimes we still do that especially for water play.
The size of the bin is really up to you, a larger bin will give them more room to play which is great.
We live in a small apartment so I use 12x12 clear bins from Target that I got on clearance.
It is important the sides aren’t too high though so they can reach in easily.
Pick a filler
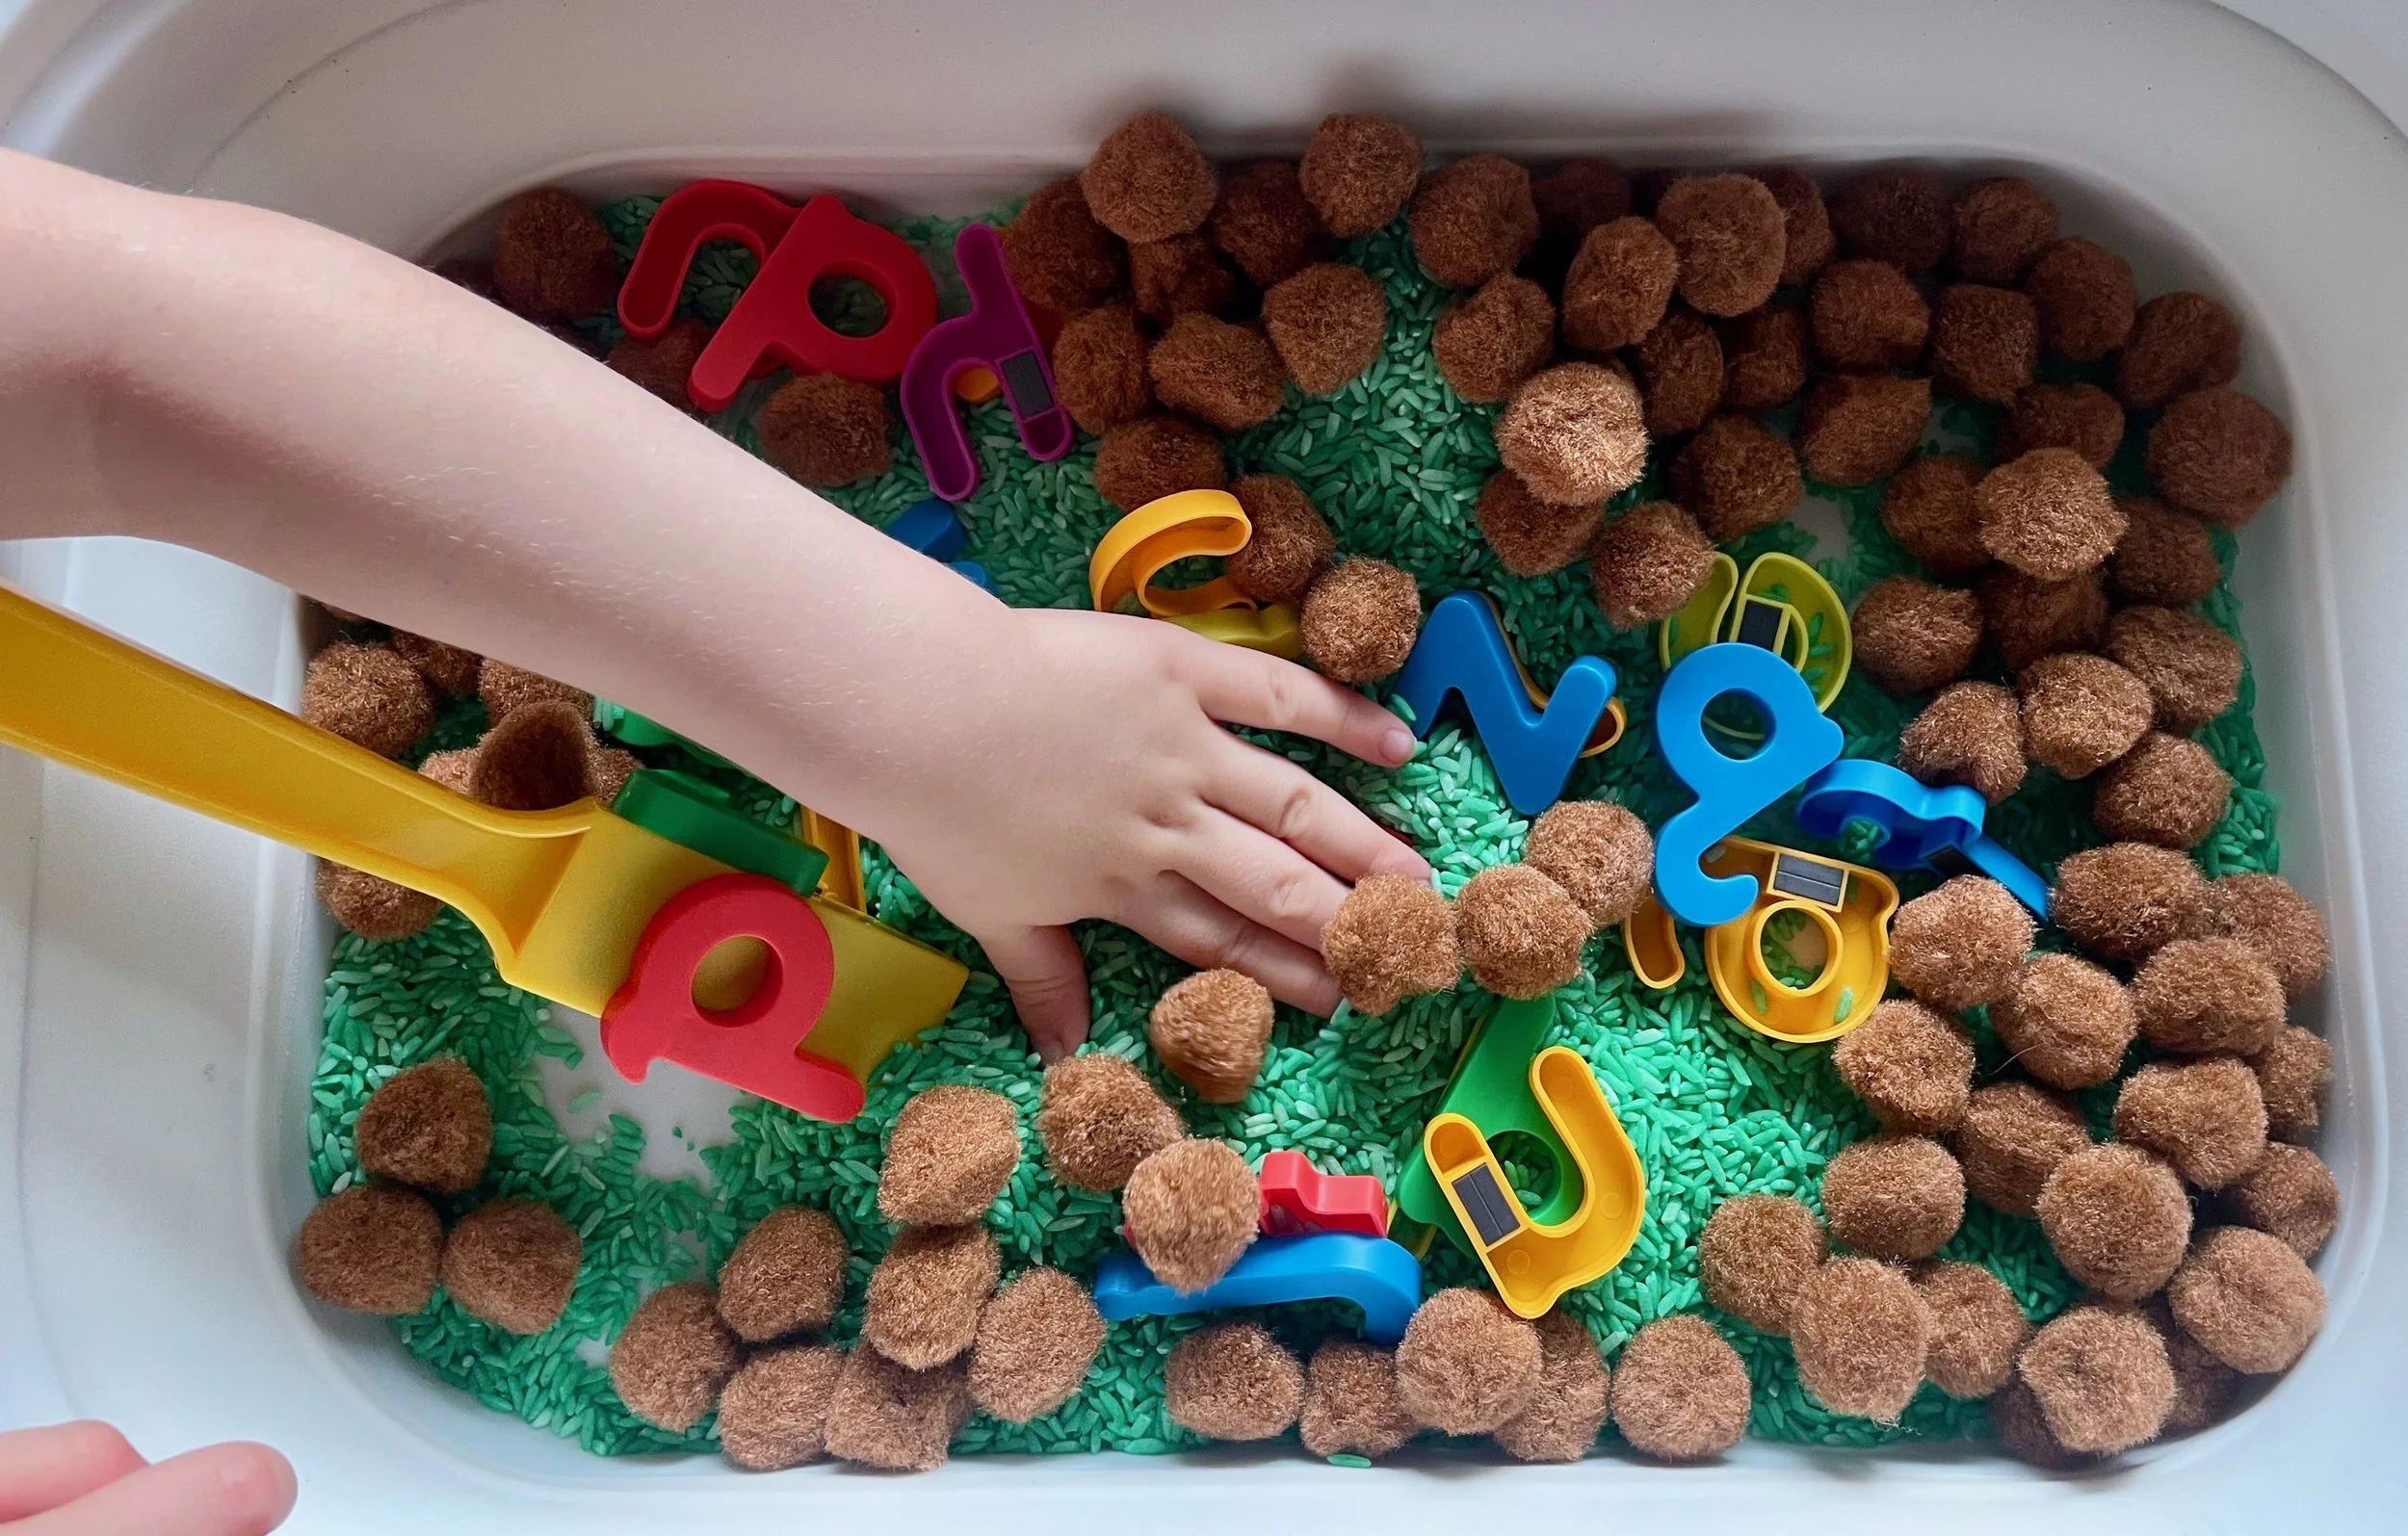
There are endless possibilities for sensory bin fillers.
Some options are rice, dry oats, dry beans, water, pom poms, dry pasta, cooked pasta, to name a few.
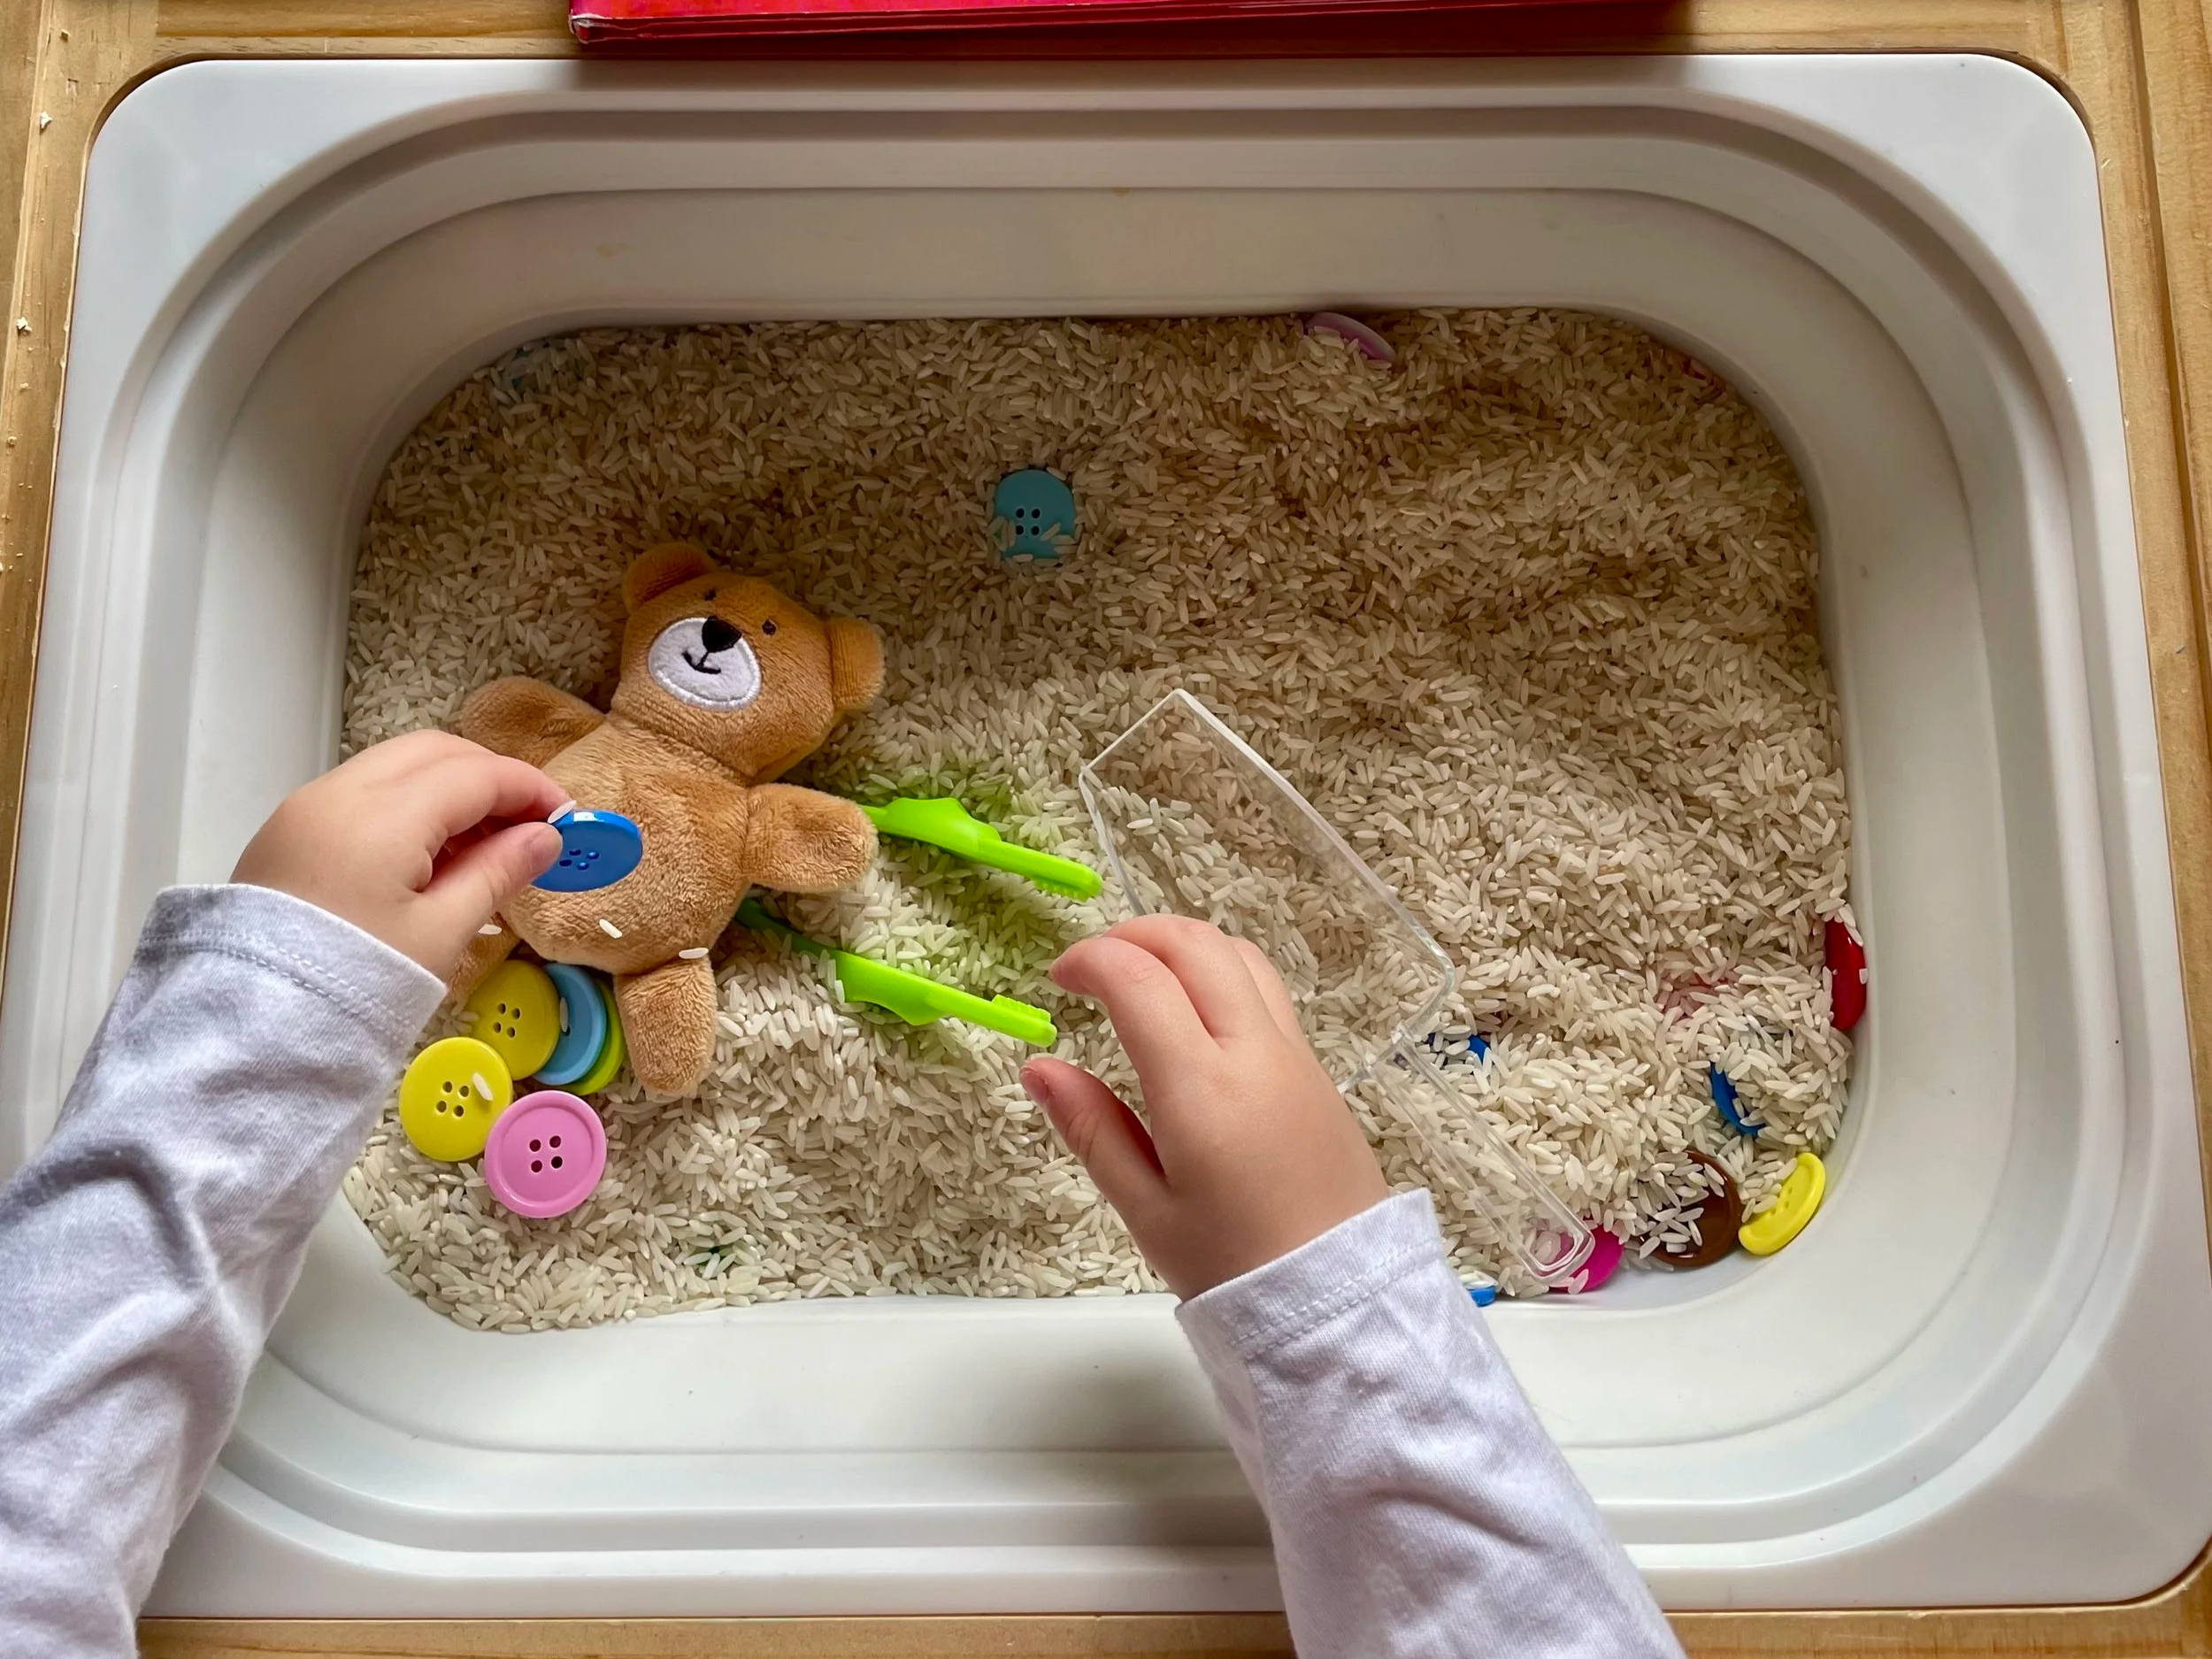
One important thing to consider is if your child is still mouthing objects.
When we first started using sensory bins my toddler was still mouthing and we started with rice. I sat with her the entire time and if she put it in her mouth I gave her 1 reminder and then we stopped playing. I would avoid things like small pom poms, dry beans, or uncooked pasta for choking concerns.
Taste Safe Fillers
You will often see people talk about things being taste safe, essentially this means that if your toddler does eat the filler they will be ok. I would advise against encouraging tasting the filler regardless. If you have a young toddler who will eat it no matter what then I would probably start with plain water or cereal (whole or ground).
Mess Free Fillers
If mess is your biggest concern then there are some filler choices that are better than others but it depends on what type of mess is most stressful to you.
Water play for example has been a good one for us because I put a waterproof mat under my toddler, strip her down, and put a towel under her and the bin and then the “mess” is mostly just wiping up the water then laundry (but no stains).
If you don’t mind doing a quick vacuum after, then rice or dry oats are actually not too bad. I think our biggest rice mess only took me 3 minutes to completely vacuum up, but that is because I stuck to our rules and as soon as she dumps the rice we stop.
Add some simple tools and materials
This is where things can get really themed and you can end up with lots of bins of themed materials, or things can stay simple. That is really up to you, I am somewhere in the middle because I don’t have the space or budget for extensive themed bins although I do think they’re very charming.
Our basics:
Plastic measuring cups
Plastic beakers and measuring cups
Scoops (reusing formula scoops or scoops from protein powder etc. is fun)
Tweezers or tongs
Extras:
Pom poms
Plastic animals

🌟 Simple is still meaningful.
This play lasted about 25 minutes.
She totally dumped the water, but I had a towel next to her and the mat is water proof so clean up took less than 1 minute.
Easy Cleanup Tips for Sensory Play
After doing dozens of sensory activities with my toddler, and many many more with students, I can confidently say that the cleanup always looks worse than it is.
Having a few simple tools nearby means most sensory bins take me just a couple of minutes to clean up.
Here are some of the things I find helpful to have on hand:
For loose fillers or play dough
Small handheld vacuum - you can use a normal vacuum but having a little one that I can just grab and I don’t have to move any furniture has been transformational for my stress level
For water play
Splat mat to protect the floor - we have this one
Towel on top of the mat, under her and the bin
For paint and messy materials
Smock - we have these
Wipes
What if it doesn’t go well?
First, be proud of yourself for setting it up and trying it out!
It is completely normal for your toddler to dump the filler or try to eat it, that is why we made the rules and set the expectations right away when starting.
It’s also normal for kids to have varying interest in sensory play.
Some toddlers can’t get enough of it and others will do it for 5 minutes and be all done. It doesn’t mean the activity failed.
Sensory play is a skill, just like anything else. Your toddler is learning how to use the materials, and you're learning what expectations you need to set and how to enforce them.
The goal isn’t for your toddler to sit and play without making a mess for an hour the first time you introduce sensory play, although that is the dream!
If your toddler starts throwing the filler or putting it in their mouth just calmly end the activity, repeat the rules, and try again later. It’s still a great start and the introduction to more meaningful play in the future!
Your First Sensory Bin
Are you ready to give it a try?
Start with something you have on hand like rice or dry oats.
Fill a shallow bin or tray with the filler.
Add a couple measuring cups.
Tell yourself it is going to be ok - you can stop if it get’s messy.
Go over the sensory bin rules with your toddler.
Sit with your toddler the entire time and stick to your rules, stopping early if needed.
There is no wrong way to do this, your toddler is going to have a great time.
Frequently Asked Questions About Sensory Play
-
Sensory play can start at infancy so whenever you’re ready is the perfect time to get started. Just remember to be mindful of choking and keep materials age appropriate.
-
Supervise and monitor play at all times if this is happening.
Do not use items that are choking hazards like pom poms.
For a young toddler that doesn’t understand the expectations:
I wouldn’t hold this rule too strongly for young toddlers or babies that don’t understand it shouldn’t go in their mouth. As long as the material is not a choking hazard and is taste safe. Keep reminding them of the expectations and remove the bin if you are concerned. Use things like water and large scoops to avoid concern.For a toddler that can understand the expectations:
If you have tried to do sensory bins several times and reinforced the rules each time, holding the expectations firmly by removing the bin when the child puts the materials in their mouth but the behavior still continues, then I would suggest using only taste safe fillers that are not choking hazards. Things like water, cereal, or cooked pasta. Continue reinforcing the rules and removing the bin when they put the materials in their mouth, but at least this will give you peace of mind. -
There will generally be some amount of clean up afterward, but use a low mess filler and set expectations firmly to avoid large messes.
-
Parents always want activities to last a long time, and I am the same way, but that isn’t realistic. Some children will have to build up their stamina for sustained play by practicing. Sometimes they start an activity and it just isn’t what they're in the mood for. Try not to put a lot of pressure on how long an activity lasts. Most of the time my toddler will play for at least 10 minutes, often she will play for 20-45 minutes
Ready for your next activity?
Now that you know sensory play doesn't have to be overwhelming, let me make the rest of the week just as easy.
Download my Free Week of Toddler Play Plans and enjoy five simple, low-prep activities that are already planned for you.
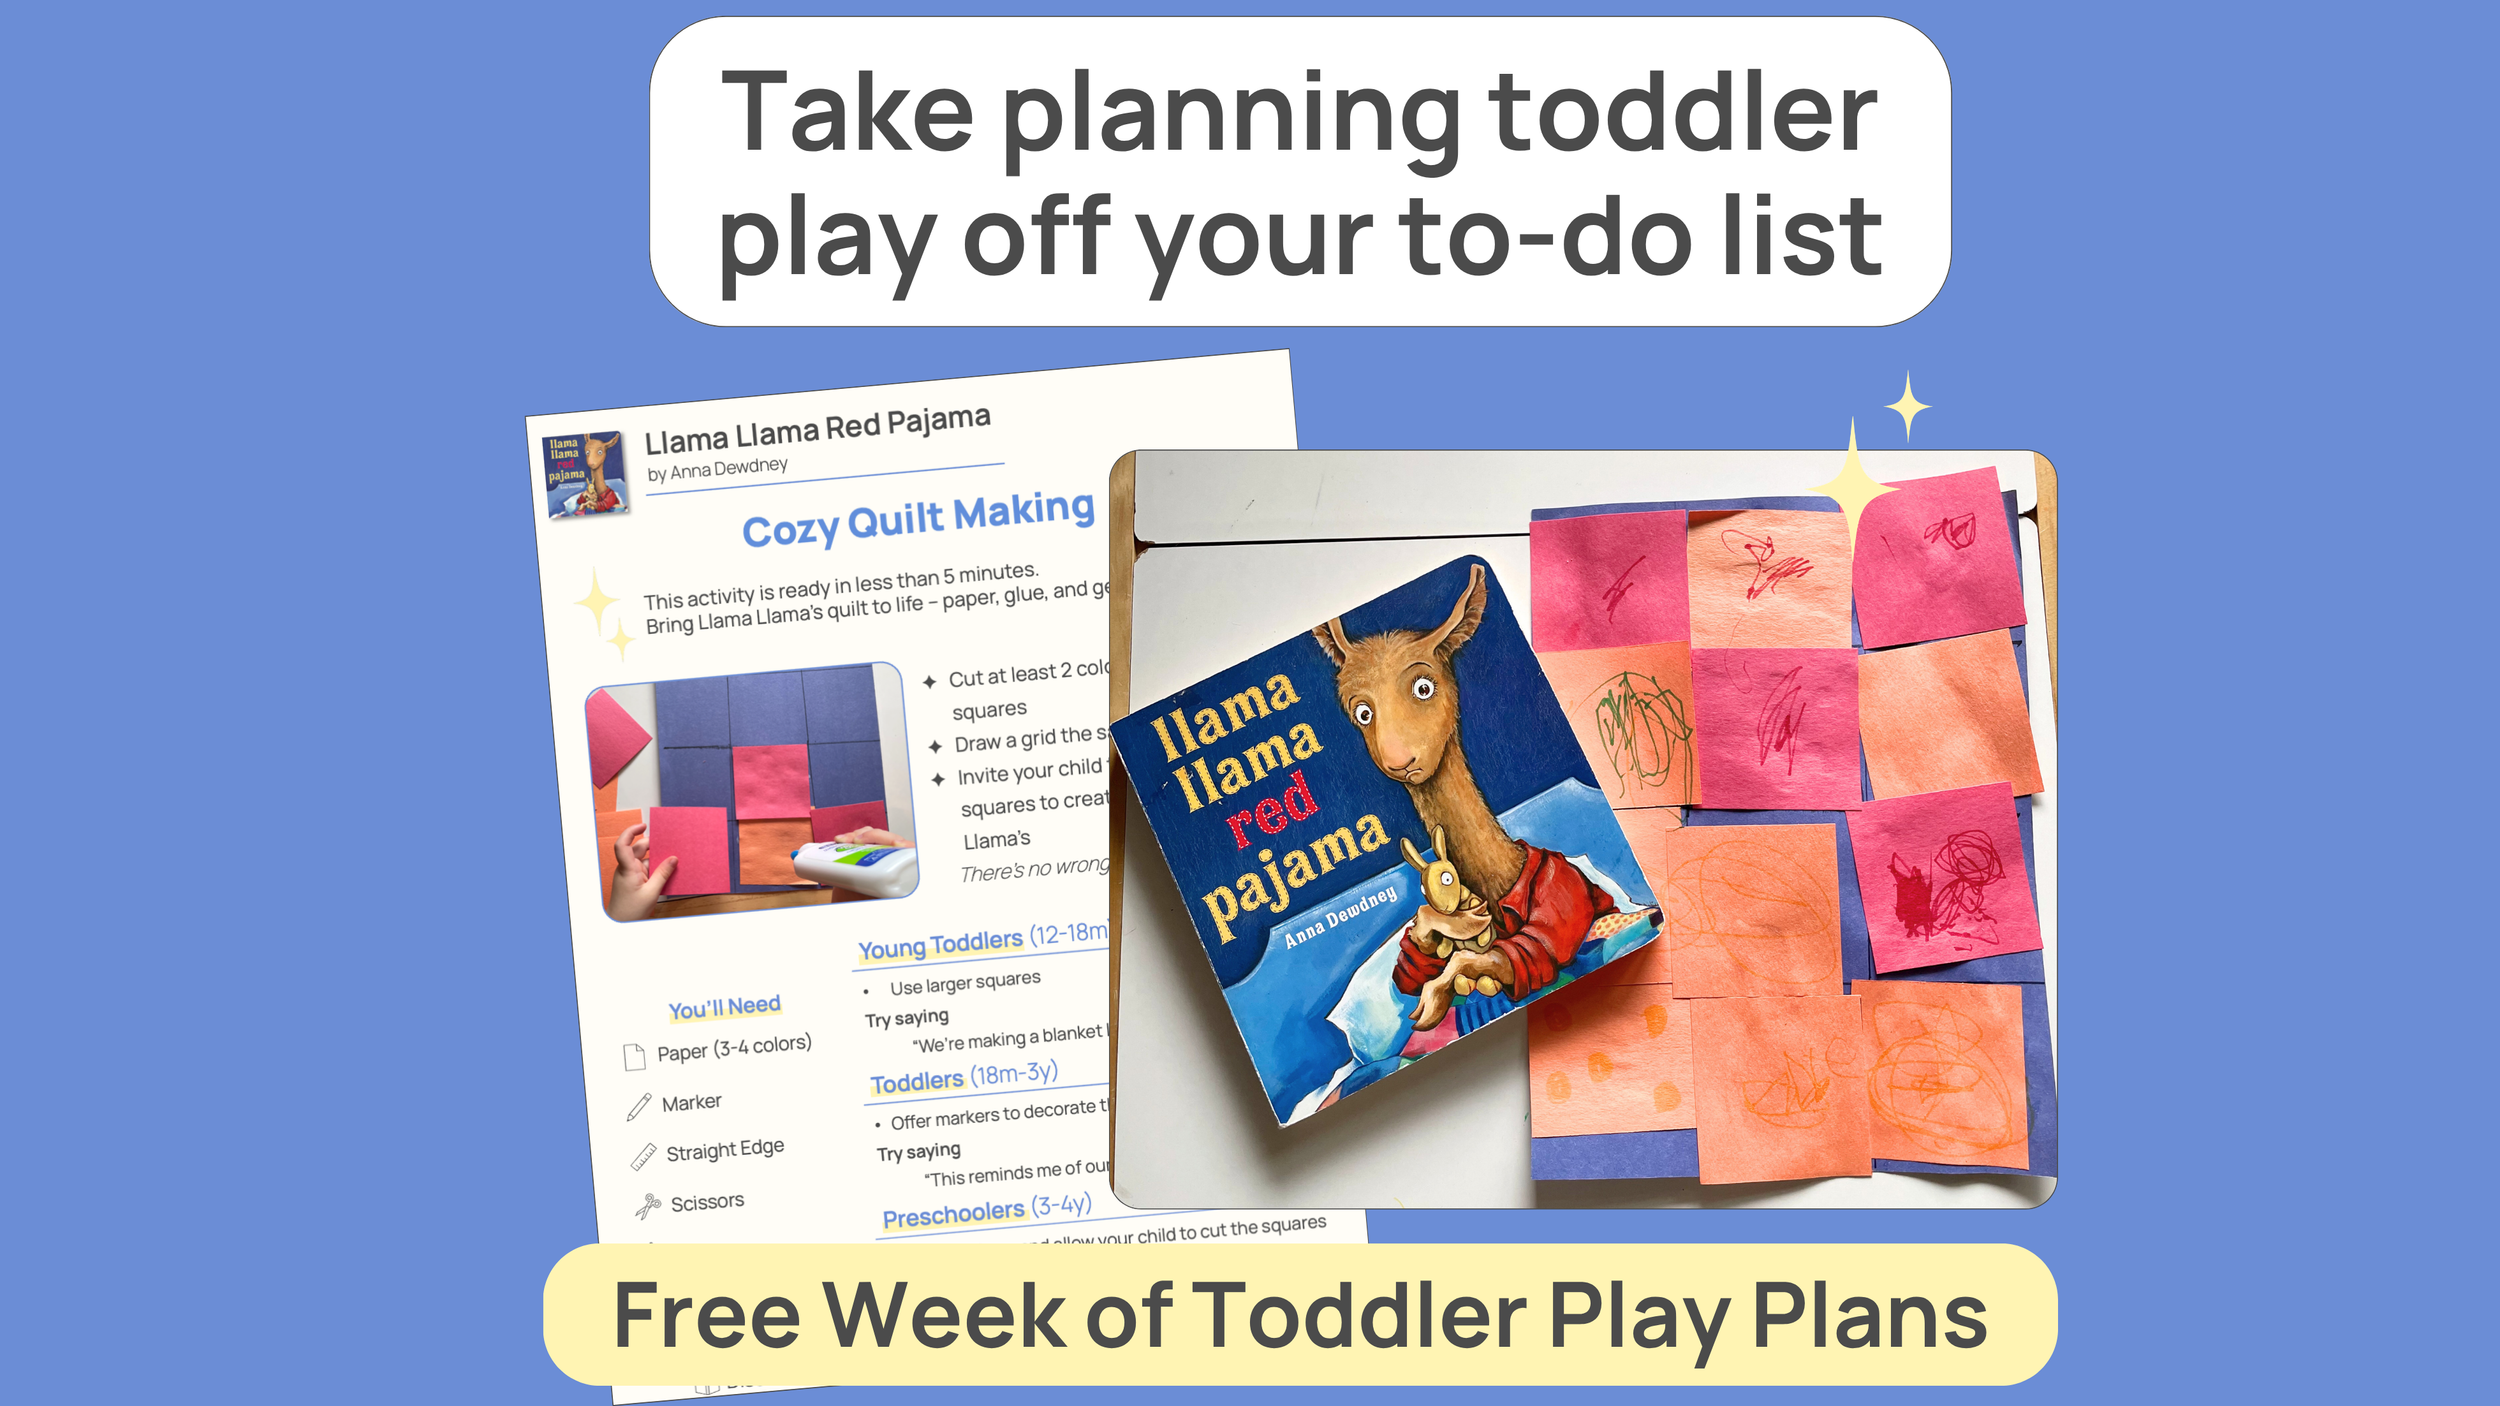
Click below to download your copy!